How to Clean Your Oven Properly — The Complete Guide
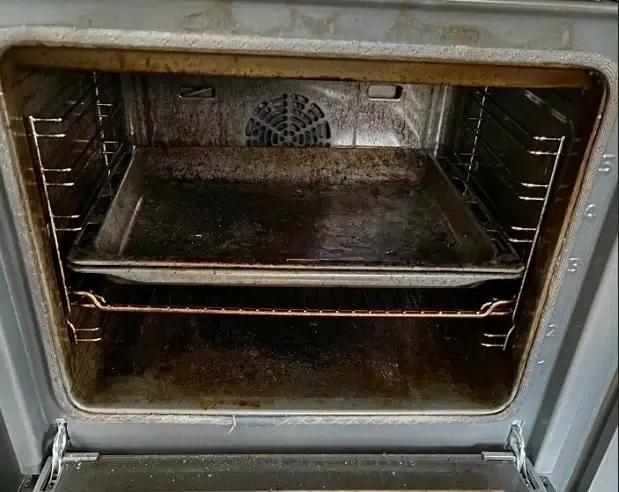
Most people clean their oven the same way — spray something on, wait, scrub, give up on the stubborn bits, close the door. It gets the visible surface cleaner, but it rarely deals with what has built up over months of cooking.
This guide covers two things: what you can genuinely do at home to get your oven looking and smelling better, and what a professional oven cleaner actually does that produces a different result.
Part One: Cleaning Your Oven at Home
Home oven cleaning works best as a regular habit rather than an occasional big effort. If you clean every few weeks, grease and residue do not get the chance to bake on properly.
What You Will Need
Rubber gloves, a plastic or silicone scraper, a scouring pad or non-scratch scrubbing sponge, baking soda, white vinegar in a spray bottle, a mild all-purpose cleaner or paste cleaner such as The Pink Stuff, a bowl of warm soapy water, and plenty of old cloths or kitchen roll.
Avoid aerosol oven cleaners if you can. They contain strong caustic chemicals, produce harsh fumes, and require the kitchen to be well ventilated. For most routine cleans, baking soda paste and a good scrubbing pad will do more with less mess.
Step 1 — Remove everything you can
Take out the racks, the shelf supports if they slide out, the oven thermometer if you use one, and any trays or liners sitting at the bottom. The more you remove, the easier the interior is to clean properly.
Do not forget the fan cover at the back of the oven if yours has one. Grease collects behind it and burns every time the fan runs, so removing and cleaning it properly makes a real difference to how the oven smells during cooking.
Step 2 — Soak the removable parts
Put the racks and trays in the bath with very hot water and a good squirt of washing-up liquid, or use a large plastic storage box. Leave them to soak for at least an hour — overnight is better if they are heavily coated. The hot water softens the grease and burnt-on residue, which means you need far less effort to scrub them clean afterwards.
Step 3 — Apply your cleaning paste to the interior
Mix baking soda with enough water to make a thick paste — roughly three parts baking soda to one part water. Spread it across the interior walls, the base, and the roof of the oven, avoiding the heating elements. Leave it for at least two hours, or overnight for stubborn grease.
When you are ready to clean, spray white vinegar over the paste. It will fizz, which helps lift the residue. Wipe down with a damp cloth, using a scraper on anything that has not shifted.
Step 4 — Clean the oven door glass
Apply baking soda paste to the inner glass and leave it to work before scrubbing. For the outer glass, a standard all-purpose cleaner and a microfibre cloth usually does the job. On many ovens the door can be removed entirely by opening it fully and lifting it off the hinge clips — check your oven manual first.
Step 5 — Scrub the racks and trays
After soaking, use a scouring pad and washing-up liquid to scrub off the softened residue. Rinse thoroughly and check in good light — it is easy to miss patches when scrubbing over a sink.
Step 6 — Replace everything and finish the exterior
Replace the racks, shelf supports and fan cover. Clean the control knobs and outer door panel with a damp cloth. Turn the oven on at a low heat for around ten minutes to burn off any remaining cleaning product residue. You may notice a faint smell — this is normal and clears quickly.
Part Two: What a Professional Oven Cleaner Does Differently
Most people skip most of the steps above. That is not a criticism — oven cleaning is time-consuming, physically awkward, and easy to put off. But it also means that when a professional arrives, the oven is often at the point where a home clean has stopped making much difference.
A dip tank, not a bathtub
Professional oven cleaners use a heated dip tank — a purpose-built unit that holds a specialist cleaning solution at a consistent temperature. Racks, trays, fan covers and other removable parts go straight into the tank. The heated solution breaks down even heavily carbonised grease in a way that hot water and washing-up liquid simply cannot match.
Proper removal of the door and glass
A professional will remove the oven door as a matter of course and disassemble the glass panels. Most oven doors have two or three layers of glass with a gap between them. Grease vapour works its way into this gap over time and produces the brown, smoky film you sometimes see between the panes. A professional cleans every surface inside and out before reassembling.
The right products for the job
A reputable professional oven cleaner will use eco-friendly, surface-safe chemicals rather than the caustic products found in supermarket oven sprays. If you are booking a professional, it is reasonable to ask what products they use — a good cleaner will be happy to tell you.
The detail work
A professional clean covers the areas that a home clean tends to miss — the element housing, the seal around the door, the back wall around the fan, and the burner ports on a gas oven. These areas accumulate grease steadily and are often left untouched during routine cleaning.
A final check and polish
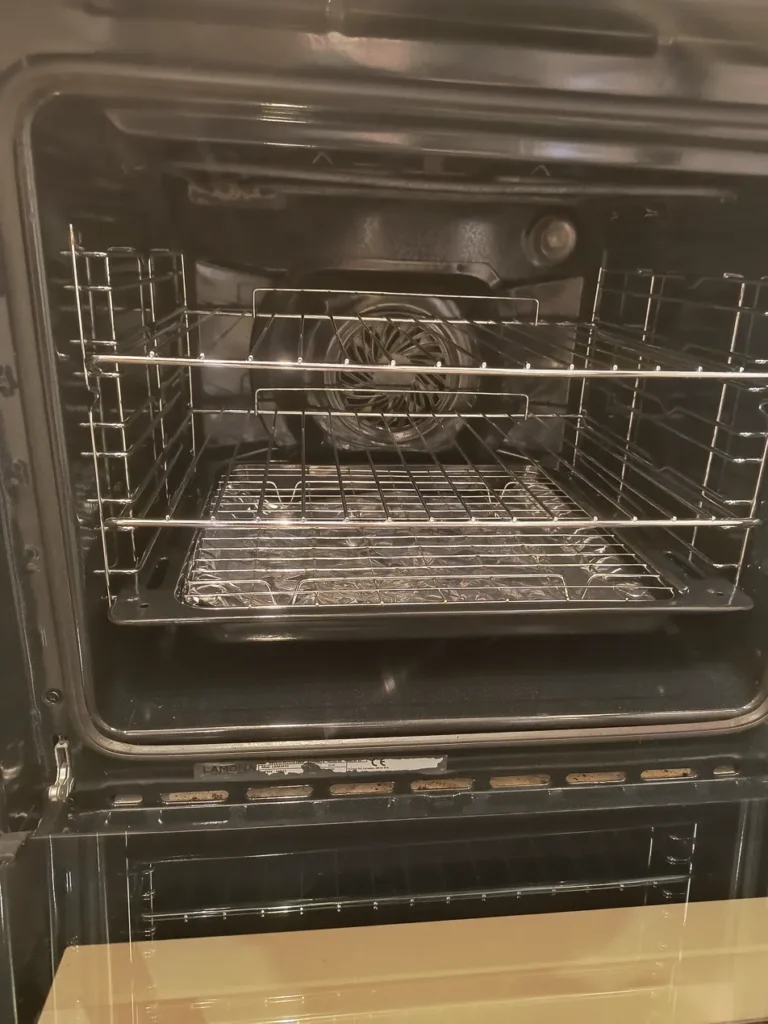
Once everything is cleaned and reassembled, a professional will turn the oven on to check it is working correctly. The exterior is wiped down and polished, and the oven is checked at temperature to confirm any residue has burned off cleanly.
How Often Should You Clean Your Oven?
For regular home maintenance, wiping down the interior after heavy use and doing a more thorough clean every six to eight weeks keeps grease from building up badly. For a professional clean, most households find once or twice a year is enough.
The best indicator is simply how the oven looks and smells. If it is smoking, producing odours, or has visible carbon build-up that scrubbing is not shifting, it has probably reached the point where a professional clean will make a noticeable difference.
The Honest Answer to Should I Clean It Myself
Yes — if you are keeping on top of it regularly and the oven is not heavily built up. If the oven has had years of build-up or has grease baked onto surfaces that scrubbing will not shift, a professional clean is a more practical solution. It will take less time, produce a better result, and deal with parts of the oven that are difficult to tackle without the right products and experience.
A thorough home clean done properly takes two to three hours at minimum. A professional clean typically takes one to two hours and leaves the oven in better condition. For many households, the time saving alone makes it worthwhile